On average, it cost anywhere from $12,500 to $35,000 to remodel a kitchen. Some remodels can even run $50,000 or more!
But does a kitchen remodel have to cost that much?
Fortunately, not! If you want to get the best bang for your buck, just try upgrading your kitchen cabinets.
Here’s exactly what it takes for a kitchen cabinet remodel.
1. Make Sure Your Cabinets Are in Good Condition
First things first, make sure your kitchen cabinets are worth saving. In most cases, they should be! But if the wood is rotted, weak, or chipping, it may be time to throw in the towel and get ready to invest in brand new cabinets.
Remember to check hinges to make sure the wood isn’t wearing out.
If you have plastic laminate cabinets, they often don’t take well to new paint coats and you can have chipping problems just a year or two down the line.
Check to ensure your shelves are sturdy and the wood isn’t warped. In some cases, you can replace warped cabinet doors without sacrificing the entire cabinet unit.
2. Decide if DIY Is Right
Repainting your kitchen cabinet isn’t too hard of a job, but there’s still a lot of ways an untrained eye can ruin the job.
Depending on the complexity of your project, you may want to consider hiring professionals.
If your cabinetry has intricate molding or carving, these touches take extra care, time, and attention. Here’s how to tell if your cabinetry is a DIY task or if it’s worth working with a professional.
3. Remove the Doors and Hardware
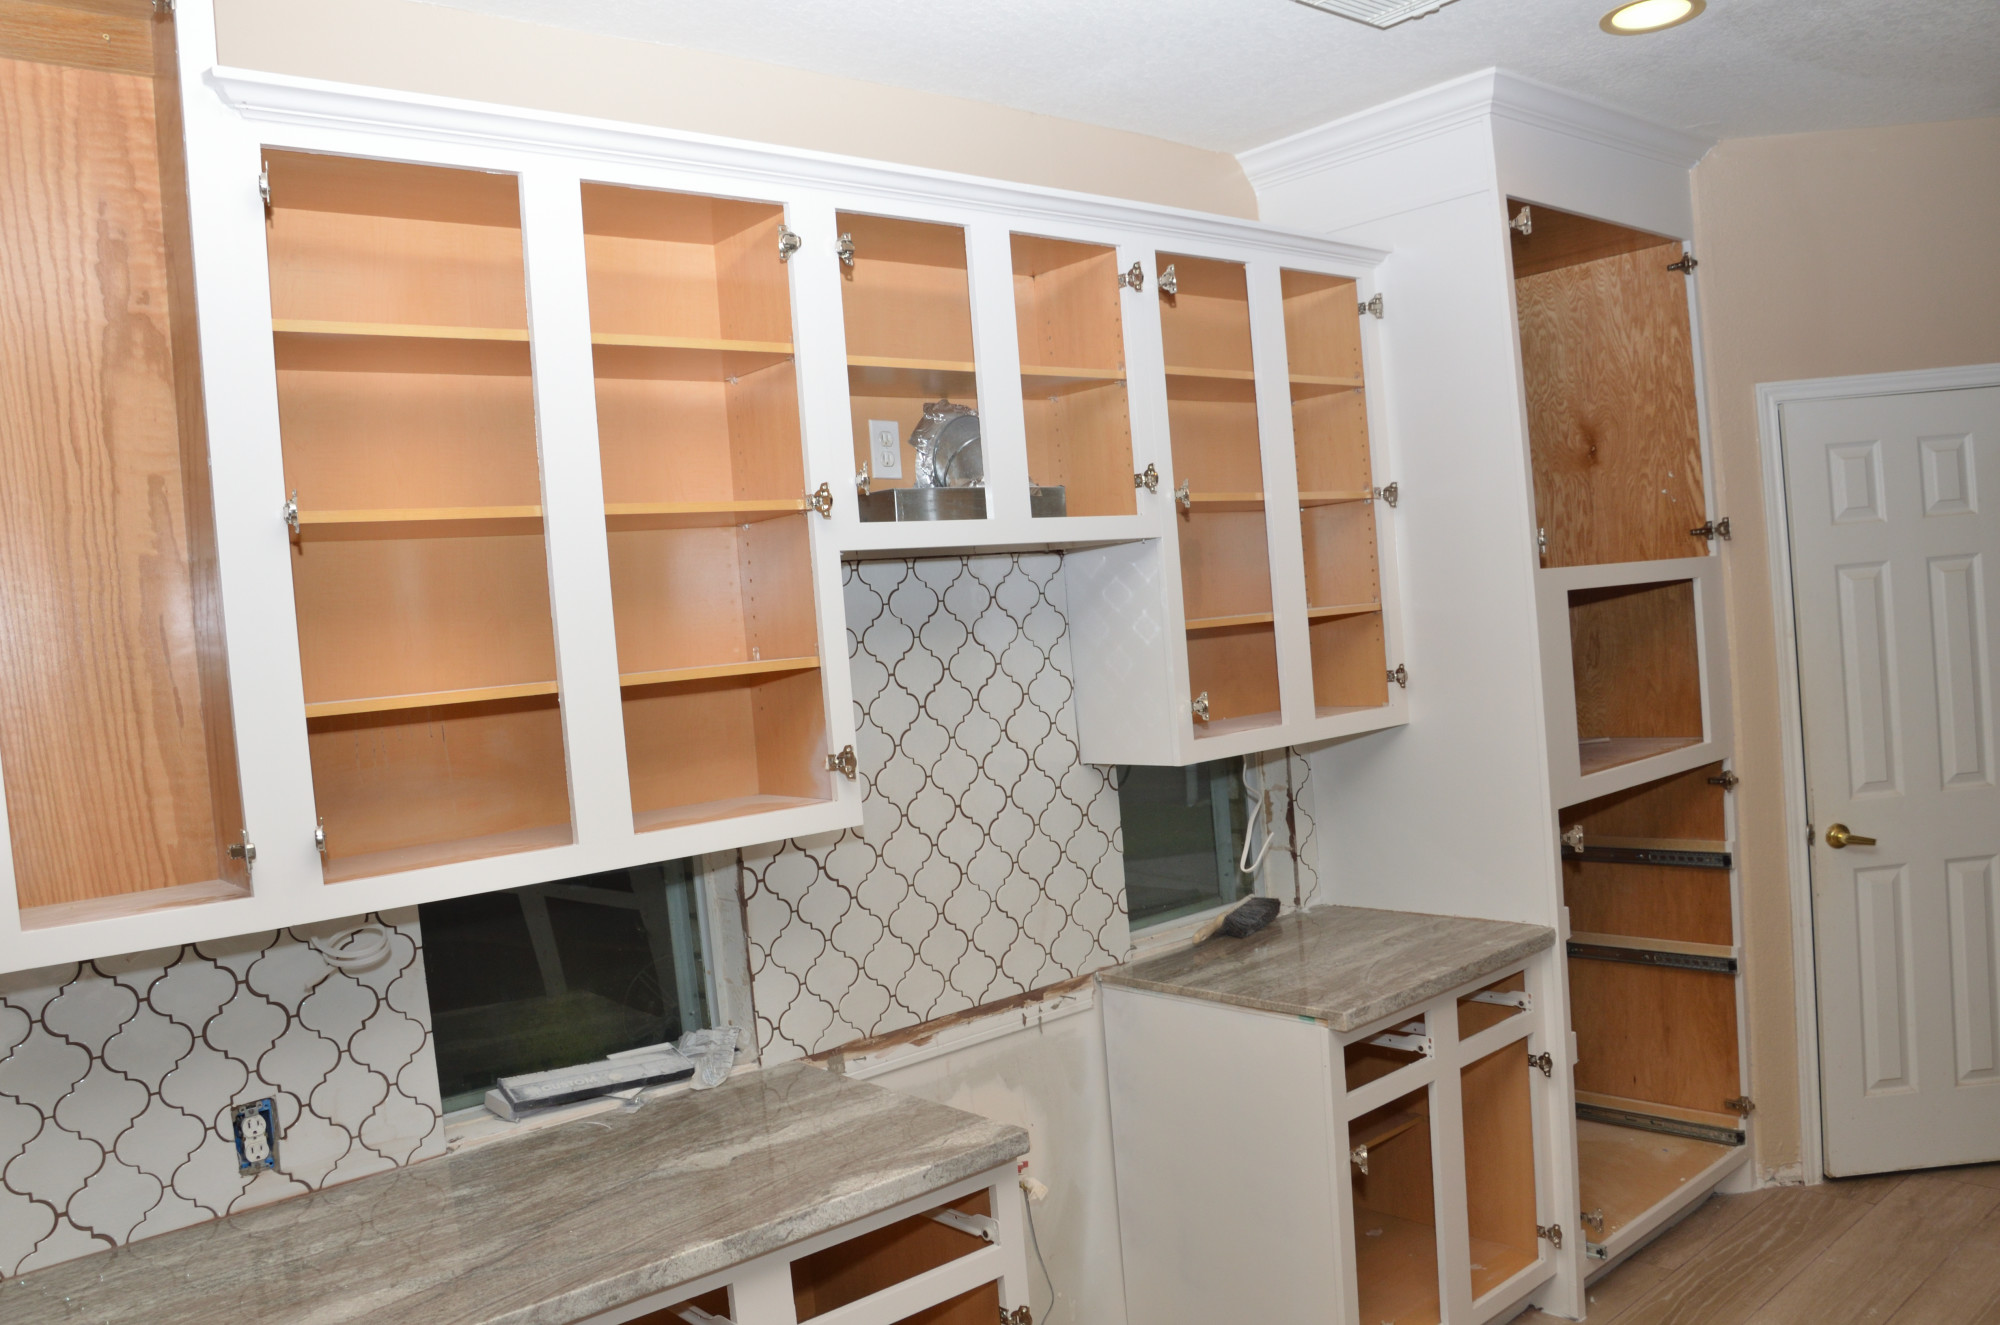
Okay, so you’ve decided to tackle your kitchen cabinet paint job on your own. First things first, empty your cabinets, take off the doors, and remove any handles or knobs.
You may be tempted to leave the hinges in place and paint over them, but taking them off so you can paint beneath them will make the job look more professional and clean.
If you like the existing hardware, you can always save money and reattach it later. If not, consider upcycling your old hardware, or sell it online to keep your expenses a bit lower.
4. Clean and Sand
The doors are off, the cabinets are empty. It’s time to clean and sand down any areas that will get some paint.
Why? Kitchens are honestly a little bit gross. You’re constantly cooking around grease and steam and those two elements can do a number on your woodwork. You need to make sure any existing damage is removed (steam peeling paint) and any grime won’t affect the paint.
During this stage, make sure you fill any holes left by the hardware with wood filler. If you’re keeping the same hardware, you can skip this step.
As you sand, you don’t need to remove all the old paint if it’s stuck on. Roughing up the surface makes it easier for the new layer of paint to stick to the wood.
5. Clean up Your Project Site
There’s a lot of cleaning in a remodel job. Once you’ve finished sanding, you need to make sure you’re painting space is clean (not full of sawdust). Ensure your painting surfaces don’t have any debris that could damage the paint.
Wipe down your cabinets with a tack cloth and make sure your space is free of sawdust and debris.
6. Apply a Primer Sealer
The primer-sealer helps the paint stick better to the cabinets, and makes it easier to repaint them in the future. Apply this like a coat of paint and let it dry.
7. Time to Paint
Once you’ve picked the new color for your kitchen (here are the trending kitchen colors for 2021) it’s time to paint. Make sure you use painter’s tape to define your lines and cover anything you don’t want to get paint on.
Start by painting the frame and edges of your cabinetry. Keep an eye out for drips and runs as you go.
Then switch to your cabinet doors. If you have any molding, make sure to carefully get the paint into these crevices, but don’t allow it to pool. Pooling paint lessens the depth of the molding – it makes it look bad.
To do a paint job right, make sure you’re applying many thin coats instead of one thick one, and allow the paint to sit for at least four hours between coats.
While it may seem tedious to repaint the same cabinetry several times, taking time will ensure a more even coat with fewer bubbles and a better finish.
8. Add a Finish
By now, you’ve put a lot of time, energy, and money into painting your cabinets, but they’re not done yet. You must add a finish.
The finish you choose will depend on whether you want matte or gloss, and the type of paint you chose for the cabinets.
Adding a finish to the cabinets keeps them newer for longer and prevents damage down the road. While you may be tempted, don’t skip the finish, or you’ll be repainting in just a few years.
9. Put It All Together
Once you’re satisfied with the paint and finish and it’s had time to completely dry, it’s time to reassemble your kitchen.
Reattach hinges and hardware. Take time to properly hang your cabinets so they hang level and don’t try to swing open or closed without your instruction.
Once everything is in place, take a step back and admire your work. It’s a job well done.
Remodeling Kitchen Cabinets Can Breathe New Life Into Your Kitchen Without Breaking the Bank
Kitchen cabinets are a great place to start when you want to remodel on a budget. Assuming the cabinets you already have are in decent condition, repainting and updating hardware can make them look brand new!
Even still, taking on tackling your kitchen cabinets is a big DIY project. Consider calling in professionals to help.
Ready to get help with your home project? Get your free quote here.

