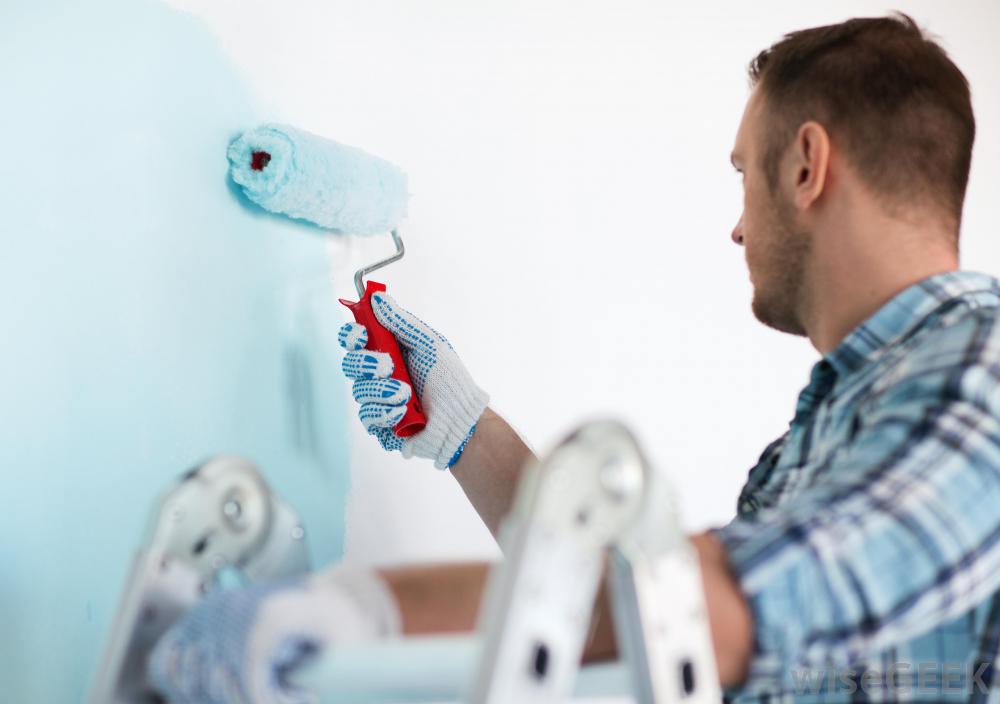
The big question, how do you paint your walls? You may think it’s as simple as rolling paint from a brush, but there is a lot more that goes into it. At this point we’ve already prepped the room for painting. Now we’re onto the walls. For the sake of this example, let’s say we’re house painting in Temecula and the the ceiling is white but we’re painting the walls a custom blue. We are going to have to cut in a straight line up against the ceiling. We’ll explain how to make it look really nice but first, let’s go over the equipment we’re going to need.
What you’ll need
3.5 inch angled latex brush (Don’t skimp here – you get what you pay for!)
“Cutting can” or container for your paint you’re cutting with
5-gallon bucket for your roller brush + roller grid
Stout roller handle (the cheap ones will bend!)
1/2 – 3/8 inch roller brush (smoother the surface, the smaller the roller)
Step ladder
Roller pole
Now that we have our equipment, we’re ready to start painting.
Pro Tip: If you’re using a custom color for your walls, such as our blue in this example, be sure to dump all your paint into one bucket and mix it. Painting contractors frequently call this “boxing the paint” as this will ensure uniformity.
We begin by “cutting in” the room. Get on your step ladder with your brush and cutting can in hand. Dip your brush in the paint, and rather than wiping the excess paint off on the sides of your can, just give it a little shake – you want to leave a good amount of paint on there. As far as holding the brush, we think its best to hold it as if its a large pencil.
Start cutting in at a corner of the room. Brush about 4 to 5 inches down from the ceiling but don’t cut right up against the ceiling just yet. Leaving a small space between your brush strokes and the edge of the ceiling will allow your paintbrush to glide easily when you will be cutting in close to the ceiling.
To make the line of paint against the ceiling look straight like pro painters in Temecula, cut the paint just a hair up onto the ceiling – we’re talkin’ 1/16 of an inch MAX! If you don’t cut onto the ceiling like this and leave the line down on the wall, you’ll be able to see a white line from the middle of the room. But if we cut up on the ceiling just a tiny tiny bit, you will not be able to tell when looking from a distance.
When cutting in the room, it is very important that as you go along, you use the two-step process that we’ve described before – put the paint on the wall first and then go back and do one final stroke towards your wet edge (the section of the wall you’ve already painted). If you do this, your brush stokes will always blend together and you won’t be able to see any start marks.
Painting the Corners
After you’ve cut in around the ceiling, move onto the corners of the room. The corners tend to be thirsty so be sure to use extra paint on them. When finishing a corner, start the final stroke at the bottom and brush towards the middle.
Run the paint onto the trim just slightly, making sure the ENTIRE wall is covered. You’ll straighten this line later when you paint the trim. If the trim is natural wood, it should be taped off with blue tape. Brush lightly along the top of the baseboards, if applicable.
Rolling the Walls
You can get great results from your rolling if you just follow the simple “Two-Step” process we created for painting in Murrieta.
First, “lay it on.” Roll the paint onto the surface and get the entire wall covered. Don’t worry about being to neat or too precise – just get a good hefty coat of paint on there. Don’t be hesitant to dip your roller brush often. Apply pressure to get the paint evenly spread around the wall.
Second, you’ve gotta “lay it off” or in other words, go back to the beginning of that section and give it one final smooth roller stroke. Overlap your roller strokes by 30-50%.
REMEMBER: Remove any tape along trim or baseboards within a few hours of finishing the painting so it doesn’t bond to the new paint.
Now you know how to paint your walls and you might be a little overwhelmed. Don’t worry we know what we are doing and have painted hundreds of houses. Your home is in good hands with Wall Works. You don’t have to take our word for it, check out our review on Yelp and Google. Contact us today to schedule your free estimate.

