


How To Paint A Wall Mural To Transform Your Space
How To Paint a Wall Mural: A Focus on the Tilling and Techniques Murals are perfect for bringing your personality, vision, or brand life, whether you want to paint a stunning feature wall in a living room, create a kiddie bedroom with life, or inject your business with some artistic pizazz. Here at My Wall Works, we believe that with the right tools and techniques, a mural can be created by anyone - no experience is required! This step-by-step guide will walk you through all the details, from imagining your design to finishing it.
Why Paint A Wall Mural?
So before we get into the why of murals, let’s talk a little about why murals are so appealing. Murals give you room to personalize and a chance to illustrate your artistic side or engage your personality while bringing something new to your home. They can also become a statement piece that becomes the area’s centerpiece, adding visual appeal and drama. Additionally, in certain situations, a remarkable mural can give you a positive return on investment by increasing the home or business value. Lastly, murals can be budget-friendly art, allowing you to do big art pieces for less.
Choosing Your Design
The very first step in mural-making is choosing what you want to paint. Every kind of design will depend on the dimensions of the wall, the sort of room, and your private preferences. If you’re designing a mural for a bedroom, consider it a relaxing nature scene or abstract patterns, for example.
Creative Design Options
Playful designs like animals or cartoon characters would be appropriate for a child’s room. If you are painting for a business, think about a mural that goes with your brand, like a company logo or an abstract image that evokes the values of your business.
Mural Placement Considerations
Now that you’ve chosen your theme regarding the scale and placement of the mural, you must consider the position of the mural. A large and expansive wall allows you to create a more complex mural, while you may be limited to a more simplistic design for a smaller space.
Design Inspiration
Consider the interaction of the mural with existing elements, such as furniture, windows, and lighting in the room. It’s also a solid idea to look for inspiration before painting. Your mural has countless inspiration sources such as Pinterest, Instagram, design magazines, or even local galleries or museums. If you probably would collaborate with a professional artist, they may have a mural portfolio to inspire you.
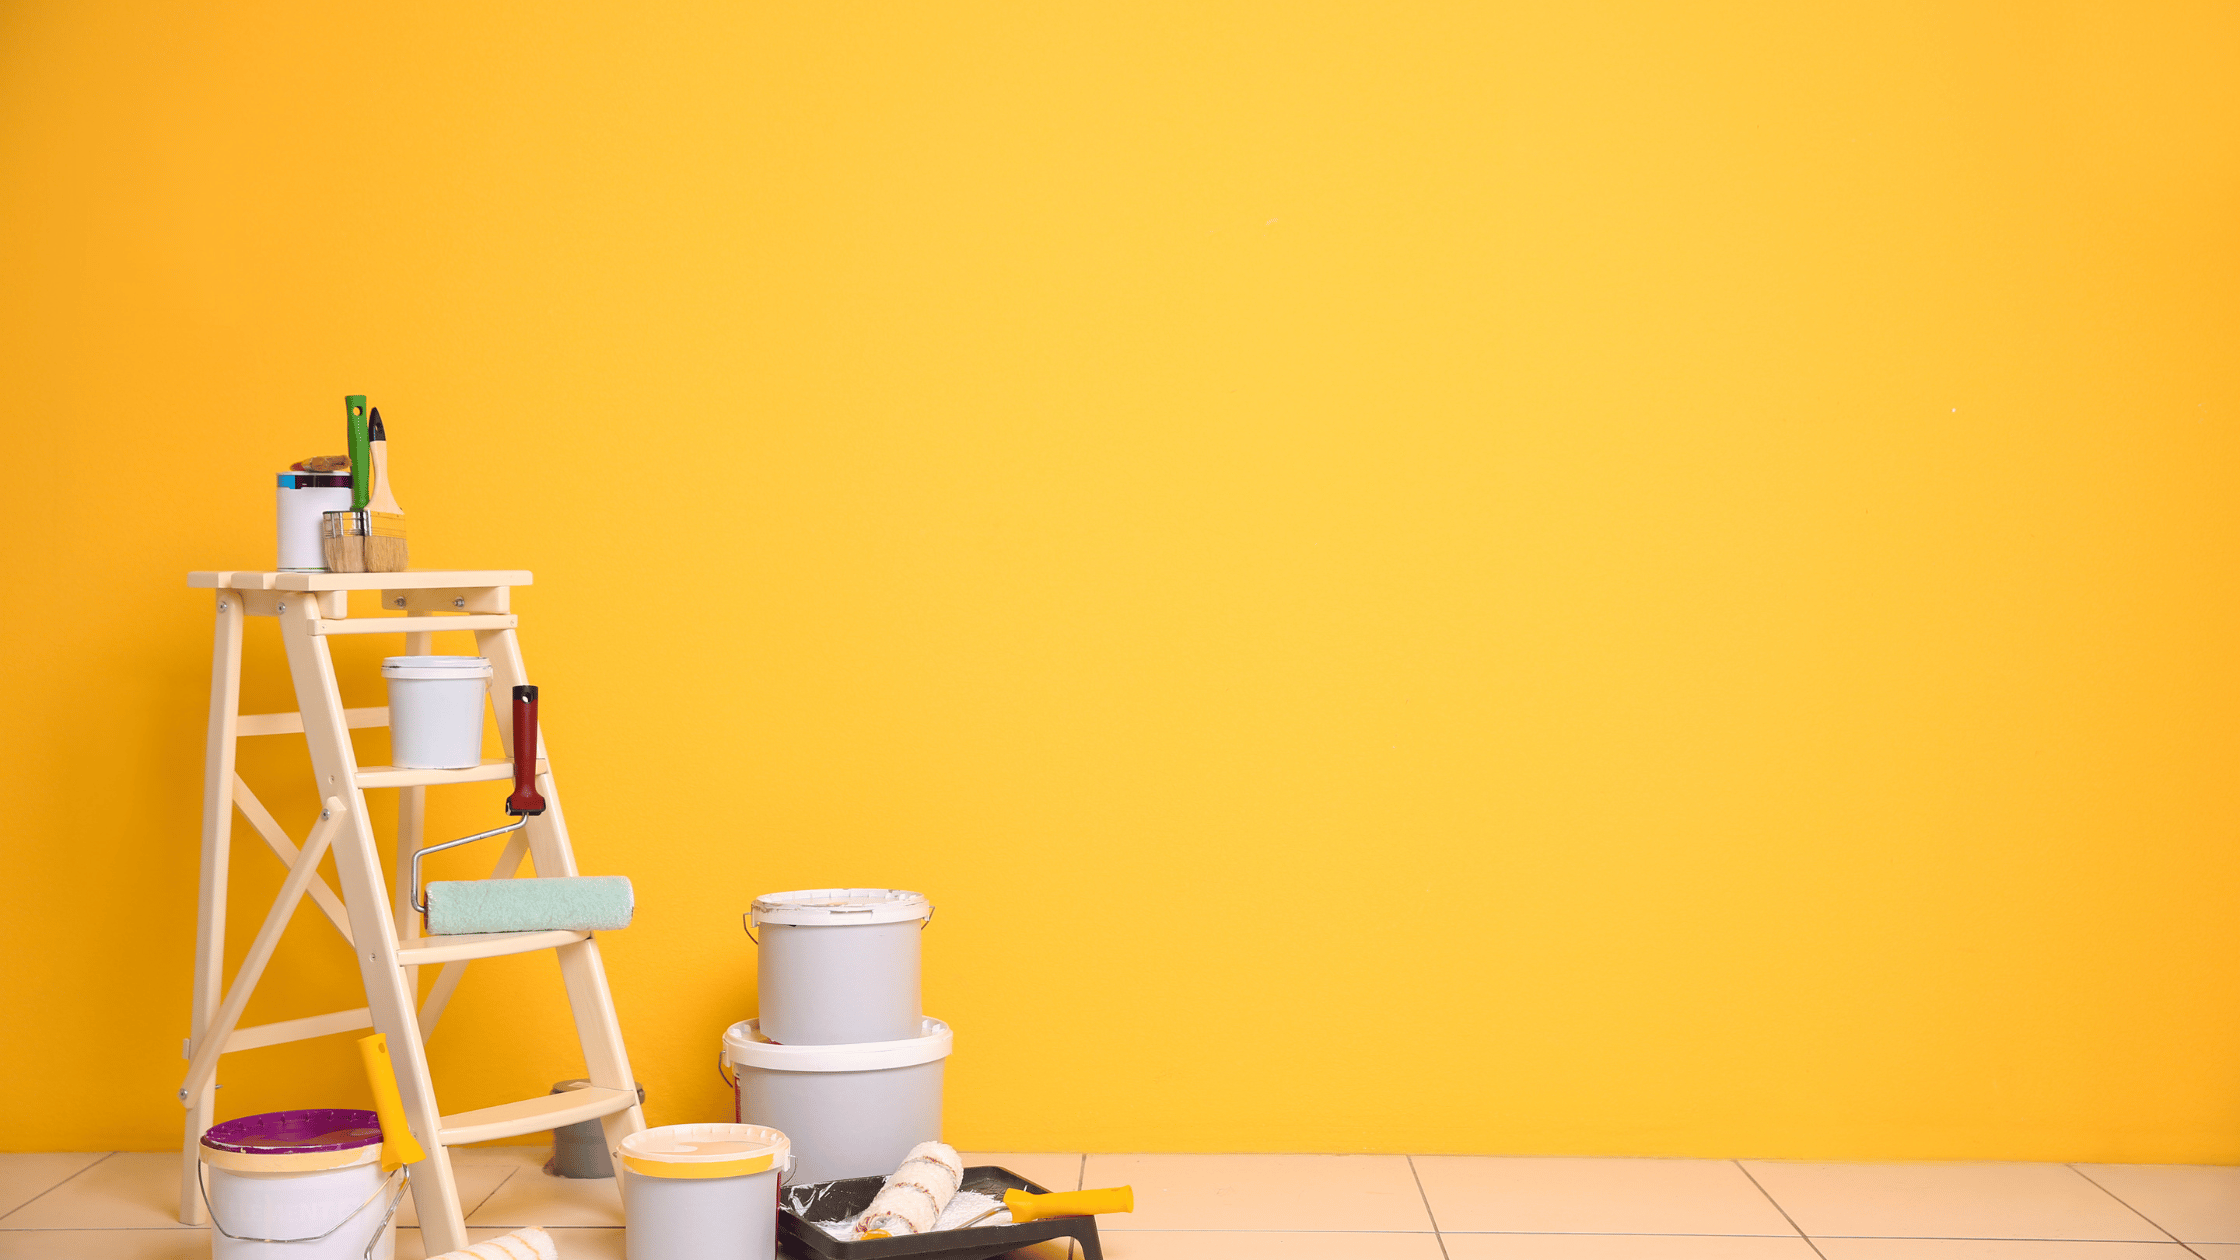
Gathering Materials
Once you’ve chosen your design, it’s time to collect your materials. The materials you will need will depend on the paint you select, but there are a few essential items that you will need. Among murals is Acrylic paint because of its vibrant colors, ease of use, and fast drying. Acrylic paint sticks well to most surfaces and is water-soluble, making it easy to clean up. Choose between matte and gloss, depending on the look you want! Matte finishes are flattering for soft, muted designs, while gloss finishes show off colors. Using a primer is also a good strategy if painting over dark colors or bare drywall, as this allows the paint to adhere correctly.
Choosing The Right Brushes
Besides paint, you will require several brushes to create different effects. Use large brushes for creating significant areas or backgrounds, and keep small detail brushes handy for fine lines and designs. Flat brushes are great for filling large areas with smooth, even strokes, but round brushes are preferred for curves and fine details.
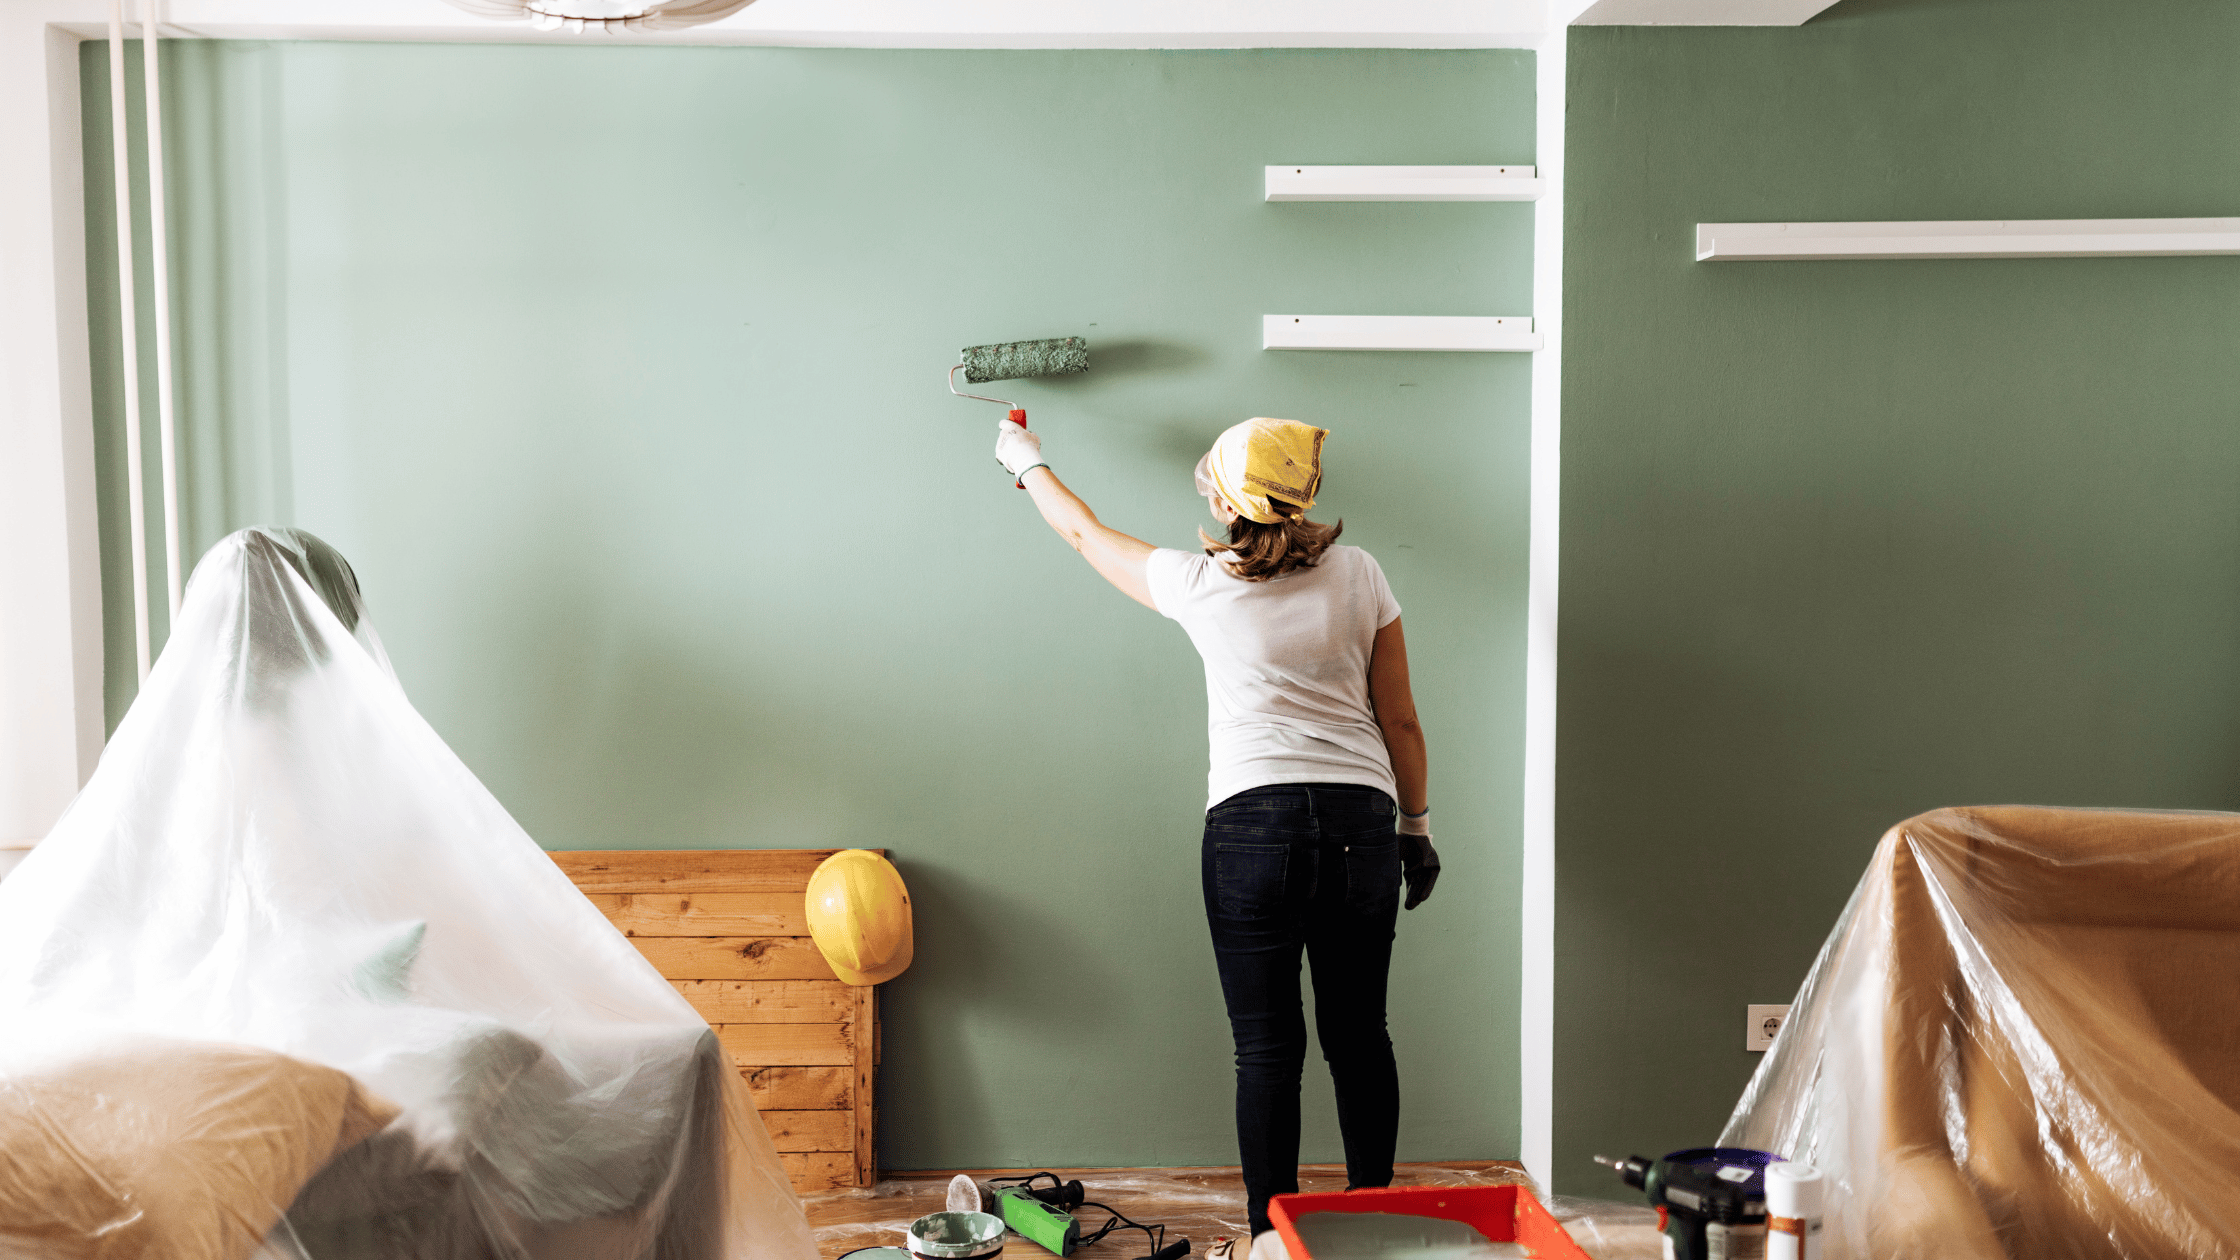
Preparing Your Workspace
You’ll want a pencil (or chalk, depending on the paint color you choose) to draw out your design on the wall before you begin painting. Using painter’s tape will allow you to make crisp lines and edges, keeping the paint from bleeding onto areas you don’t want them to go. Finally, remember to protect the floor and furniture with drop cloths and wear protective clothing: old clothes, gloves, and a face mask to protect from fumes and splatters.
Preparing The Wall
Ensure that your mural looks professional and lasts by adequately preparing your wall. Begin by cleaning the surface to eliminate dust, dirt, or grease. Wash the wall with a damp cloth and a mild soap solution, then make sure the surface is arid before continuing. Sand if there is any bump or imperfection on the wall for a smooth surface. Sanding will also allow the paint to stick better. If you are painting over a dark color or raw drywall, applying a coat of primer might be best to help the paint go on smoothly with good color coverage. Let the primer dry completely before you start the mural.
Sketching The Design
After your wall is prepped, it’s time to sketch the design. Then, draw your design directly on the wall freehand! This will help you develop a rough outline of your design. But if you want more accuracy, you can use a grid method. To accomplish this, draw a grid over your reference image and a grid of the same proportion on your wall. This helps you divide the design into smaller sections to work on and correct proportions. For extra exactness, project the image onto the wall with a projector and trace the lines from there.
Painting The Mural
You have sketched your design and are ready to paint. Start with your mural background; it creates the foundation on which your mural will be painted. You should also use larger brushes for these areas; apply a smooth, even coat of paint. After you let the background dry, start doing details.
Start from the top and work your way down so you do not accidentally smudge the areas you’ve already painted. Begin with the lightest colors; if your work calls for it, paint in layers to bring about the desired effect. It may take several layers to achieve the desired effect, so this step is not for those in a hurry. It will be excellent if you take your time, even with the intricate details, and do not rush this process.
Adding Final Touches
When you’re almost done, look back at the mural. Check for any touch-up areas, and ensure the lines and colors are clean. Add highlights, shadows, or a new layer of color to give your design life. Pull it off to find crisp lines and edges if you’ve used painter’s tape. Once it’s painted, let it dry thoroughly before proceeding to the last step.
How To Seal And Protect Your Mural
It is essential to seal your mural to stay vibrant for years. Apply a clear acrylic sealer to protect your mural from dust, dirt, and fading. When choosing a sealer, your finish should complement your mural, such as matte, satin, or glossy. Use a clean, soft brush to apply the sealer over the entire mural. Follow the manufacturer’s recommendations for drying times, and let the sealer cure completely before you touch or hang anything near the mural. This process will keep your mural looking nice and in excellent condition.
Enjoying Your Masterpiece
Step back and appreciate your work once the mural is dry and sealed! A carefully crafted mural can change a room entirely, giving it a unique, colorful look with a lot of personality. Whether your mural is a calming landscape, a bold geometric pattern, or a detailed scene, it is now a one-of-a-kind work of art that elevates your space. Invite friends and family to share your creations and bask in the compliments that will follow. Just hold on to this, murals are decorations that add zing to your home and put a little bit of your personality into any corner that no piece of art can achieve.
Conclusion
A mural can brighten up any room, and painting one is a new, creative, engaging project that rewards you with the beauty of the magnificent view afterward. With the right materials, preparation, and technique, anyone can achieve a mural that serves as the room’s focal point. The process involves experimentation and patience, so sit back and enjoy the ride regardless of your skill level! At My Wall Works, we invite you to unleash your creativity and turn your walls into masterpieces. Happy painting!